
Pole Barn Garage Workshop Combos: Designs, Layouts, and Ideas
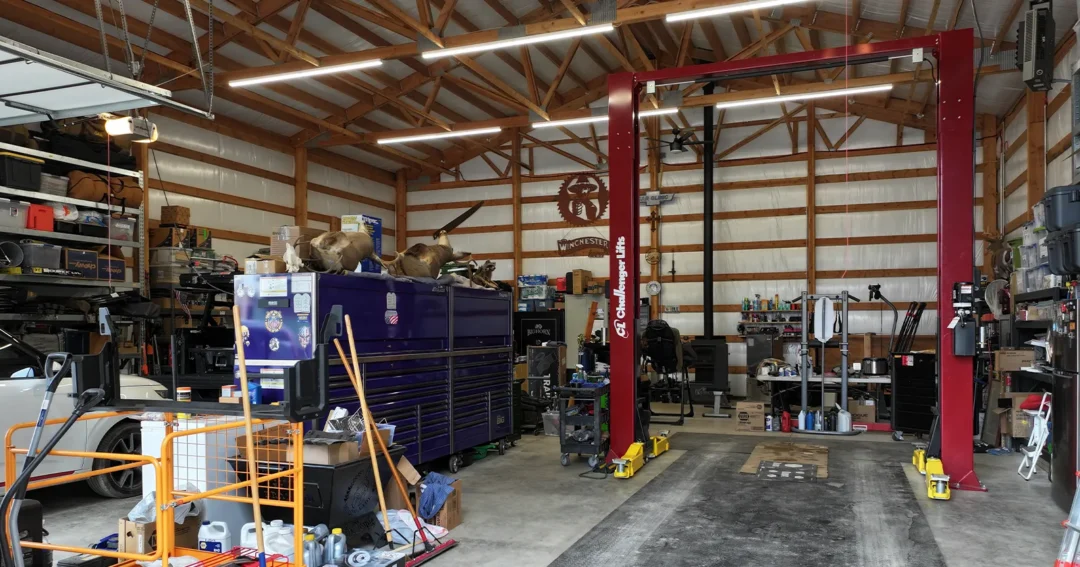
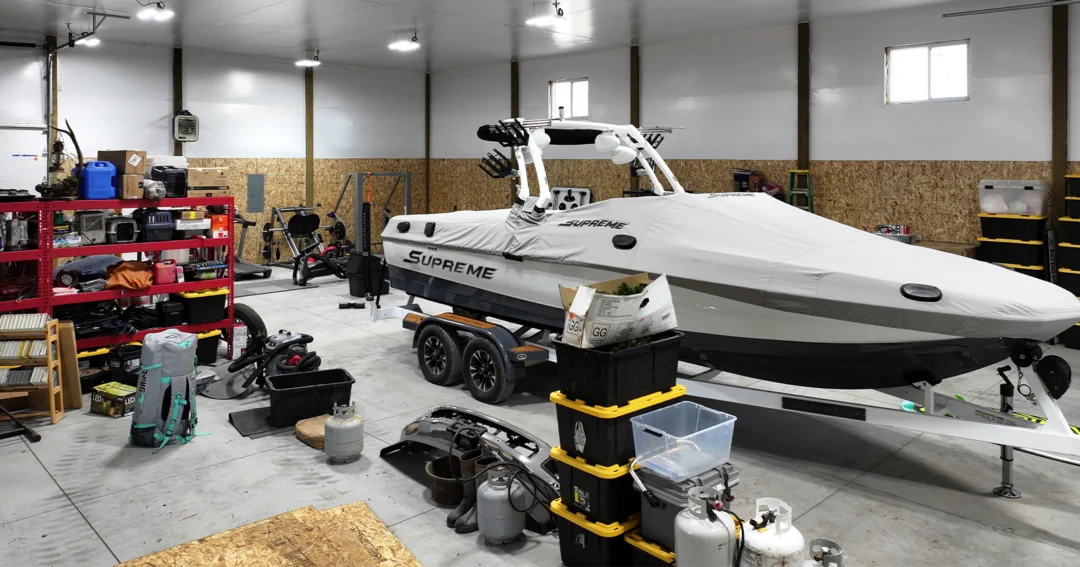
A pole barn garage workshop combo is exactly what it sounds like: one building that handles both covered vehicle parking and a real, usable shop space. Done well, it is one of the most practical buildings you can put on a rural or semi-rural property. Done poorly, you end up with a garage that is too crowded to work in and a shop area too small to be useful.
This guide is focused on garage-primary buildings where the vehicle storage is the anchor and the shop is a serious secondary function. If your primary goal is a dedicated commercial or production shop with parking as an afterthought, that is a different building type. For a garage-first buyer who wants a workshop that genuinely works, here is how to think through the design.
Why a Combo Building Makes Sense
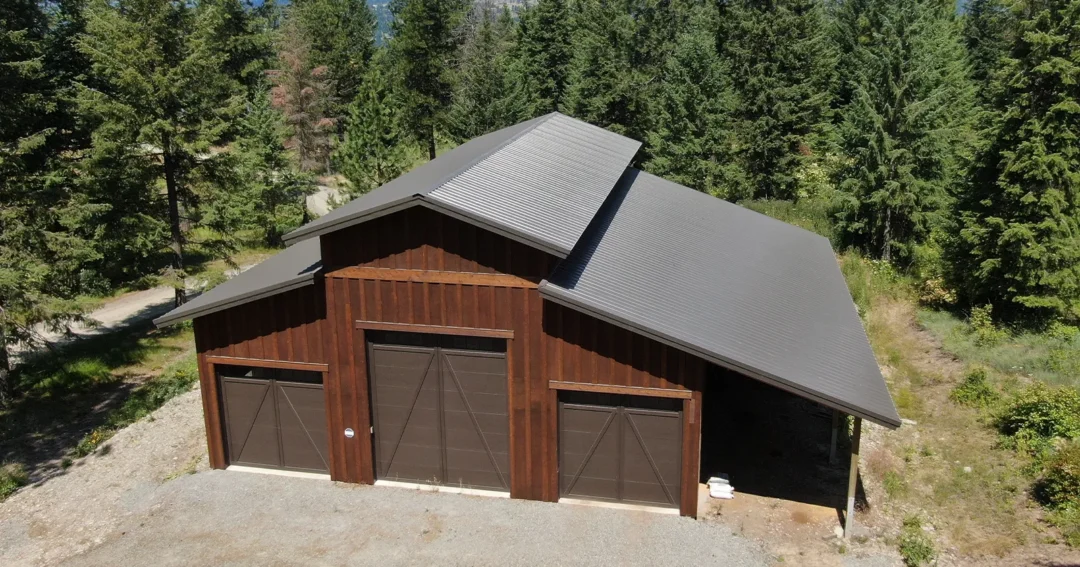
The obvious appeal is efficiency: one building, one roof, one permit, one foundation, one set of utility connections. A combo garage-workshop on a single footprint typically costs considerably less than two separate buildings and takes up less of your property.
There is also a practical workflow advantage. If you are working on vehicles, the car or truck is right there. If you are doing woodworking, fabrication, or hobby projects, you can pull a vehicle out to the apron to free up floor space without fighting through a separate structure.
The challenge is that garages and shops have different design requirements in some important ways, and the building needs to accommodate both without compromising either.
Garage Needs vs. Shop Needs: Where They Differ
| Design Factor | What a Garage Needs | What a Shop Needs |
| Ceiling height | 12 to 16 ft for trucks, vans, trailers | 10 to 12 ft is usually adequate for most shop work |
| Door placement | Overhead doors on the front for vehicle entry | Walk-through man door to exterior; possibly a separate overhead door for material delivery |
| Electrical | Standard outlets, lighting, potentially EV charger | Dedicated circuits for tools (220V for table saw, welder, compressor, dust collector) |
| Ventilation | General airflow for exhaust fumes | Dust collection, welding fume exhaust, paint spray ventilation |
| Floor finish | Standard concrete, possibly sealed | Same, but floor drains and level surface matter more for precision work |
| Lighting | Good overhead lighting for visibility | High-output task lighting, possibly natural light from windows or skylights |
| Noise | Not a major factor for parking | Sound containment matters if neighbors are close |
The good news is that most of these needs are compatible. The main things to plan carefully are the electrical service (size the panel for shop loads from the start), the door placement (the shop area should have its own entry point so you are not walking through the vehicle bays constantly), and the layout separation so sawdust and spray finish do not drift over your vehicles.
Layout Ideas for Pole Barn Garage Workshop Combos
Side-by-Side Layout
The most common configuration is to divide the building width into two zones: parking on one side, shop on the other. In a 40×60, for example, you might dedicate 24 feet of width to two vehicle bays and 16 feet to the workshop area. Both zones share the same depth, and a wall or partial partition separates them.
Advantages: both zones have equal depth, full ceiling height, and easy access from either end of the building. Good for buyers who use both areas equally throughout the day.
Considerations: the partition wall (if you install one) needs to accommodate a door between zones. Plan door placement so the workflow between garage and shop makes sense.
End-to-End Layout
Another popular option is to park vehicles in the front portion of the building and set up the shop in the rear. In a 40×80, the front 40 feet might be pure garage space with overhead doors, and the rear 40 feet becomes the dedicated shop with a man door to the exterior and full bench and tool setup along the walls.
Advantages: overhead vehicle clearance is preserved throughout the garage bays, and the shop area feels more private and contained. Great for buyers who want a cleaner separation between the two functions.
Considerations: the shop area does not have direct vehicle access unless you plan a connecting overhead door between the zones. Getting materials in and out of the shop requires either carrying through the garage or a dedicated shop entry.
L-Shaped or Lean-To Addition
Some buyers achieve the combo by adding a lean-to along one side of a garage building. The lean-to becomes the workshop, with its own entry and electrical panel. This approach works well when you are starting with a garage and want to expand into shop space without rebuilding.
Advantages: the shop is a distinct structure, which helps with dust and noise containment. The lean-to can be added at original construction or in many cases added later.
Considerations: the lean-to ceiling height is lower than the main building, which limits tall equipment placement. Works well for benchtop tools and light fabrication, less ideal for industrial-scale equipment.
How Big Does the Shop Area Need to Be?
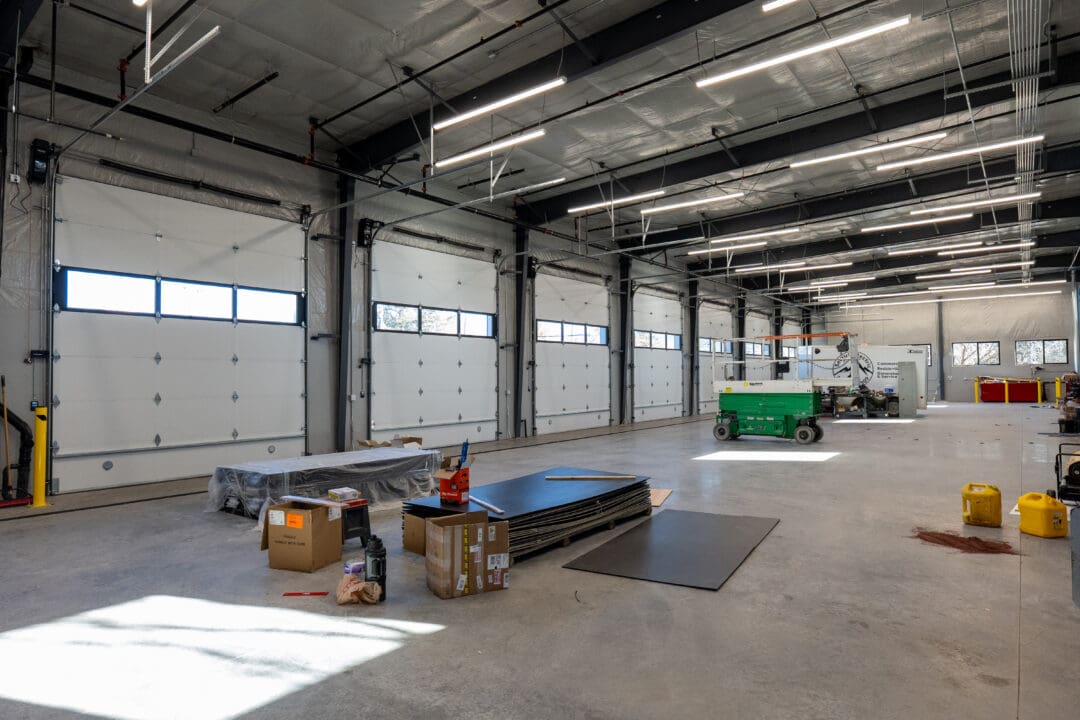
This depends entirely on what you are doing in there. Here is a rough guide:
| Shop Activity | Minimum Useful Area | Comfortable Area | Key Space Drivers |
| Light hobby work, small tools | 200 to 300 sq ft | 400 sq ft | Workbench length, storage wall |
| Woodworking with power tools | 400 to 600 sq ft | 600 to 800 sq ft | Table saw outfeed space, lumber storage |
| Vehicle work / mechanic setup | 400 to 600 sq ft | 600 to 900 sq ft | Clearance around vehicle on lift or stands |
| Welding and fabrication | 400 to 600 sq ft | 600 to 900 sq ft | Material staging, fume exhaust clearance |
| Multiple activities | 700 to 1,000 sq ft | 1,000 to 1,500 sq ft | Zone separation, dedicated tool areas |
These are guidelines for the shop area only, not the total building. A 40×60 building with a 16×60 shop zone gives you 960 square feet of workshop, which is enough for serious hobbyist and light professional use.
For other considerations, see our pole building size guide.
Popular Sizes for Garage Workshop Combos
30×50 Garage Workshop Combo
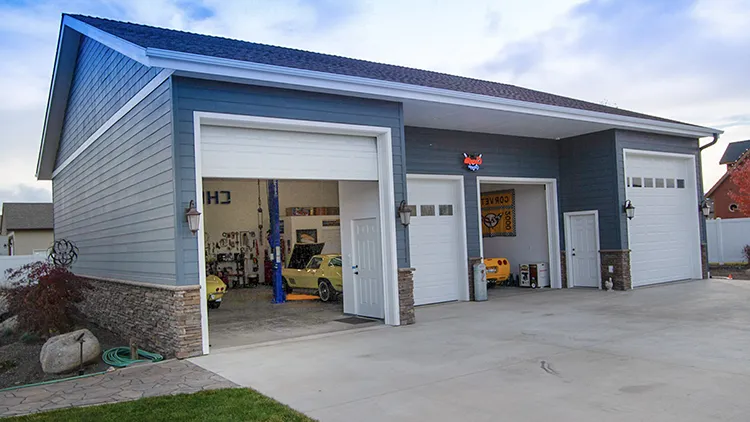
Two vehicle bays on one end, a 15×30 shop area on the other. Works well for a light shop setup: benchtop tools, small workbench, and storage. Not ideal for large power tools that need significant outfeed space.
40×60 Garage Workshop Combo
The most popular combo size. Enough room for two to three vehicles and a 16×60 or 20×60 shop area that handles serious woodworking, light fabrication, or mechanic work. This is the size where most buyers feel like both zones are actually useful rather than compromised.
40×80 Garage Workshop Combo
Three vehicles and a full 20×80 or 24×80 shop area. At this scale, you can set up distinct tool zones within the shop, have meaningful material storage, and still have clearance for a project vehicle in the shop zone when needed.
50×80 and Larger
Four or more vehicles plus a shop area large enough to run semi-professional operations. Common for buyers who have significant equipment investments, run a side business out of their shop, or simply want to build once and never feel cramped.
Features to Prioritize in a Combo Build
Electrical Panel Sizing
This is the single most important upgrade to plan from the start. A garage-only building might run fine on a 100-amp service. Add a table saw, a welder, a dust collector, a compressor, and shop lighting, and you are looking at 200-amp minimum, possibly more. Upgrading the panel after the fact is expensive. Right-size it during construction.
Dedicated Shop Entry Door
A man door directly into the shop area from the exterior is essential for daily workflow. You should not need to walk through the vehicle bays every time you want to get into the shop.
Windows in the Shop Area
Natural light makes a significant difference in shop work quality and comfort. Plan for windows on the shop walls, ideally on the north or east side to minimize glare and direct heat. Skylights or translucent roof panels are another option if wall window placement is limited.
Dust and Fume Separation
If you plan to do woodworking, welding, or painting in the shop, think about how you are keeping dust, smoke, and fumes away from your vehicles. A solid wall between zones, good exhaust ventilation in the shop, and keeping the shop door closed during dusty operations all help. Some buyers install a positive-pressure filtered air system in the garage side to keep overspray and dust from settling on vehicles.
Concrete Floor Considerations
Standard 4-inch concrete works for both garages and shops. If you plan to install a vehicle lift in the shop for mechanical work, spec 6-inch concrete in that area. A floor drain in the shop area is practical for washing parts and handling spills.
Let Us Help You Design the Right Layout

Steel Structures America builds custom garage-workshop combinations across Idaho, Washington, Oregon, Colorado, and Montana. We have seen a lot of these buildings go up, and we know which layouts work and which ones leave buyers wishing they had done something differently. If you have a combo build in mind, we are happy to talk through the design with you before you commit to a plan.