
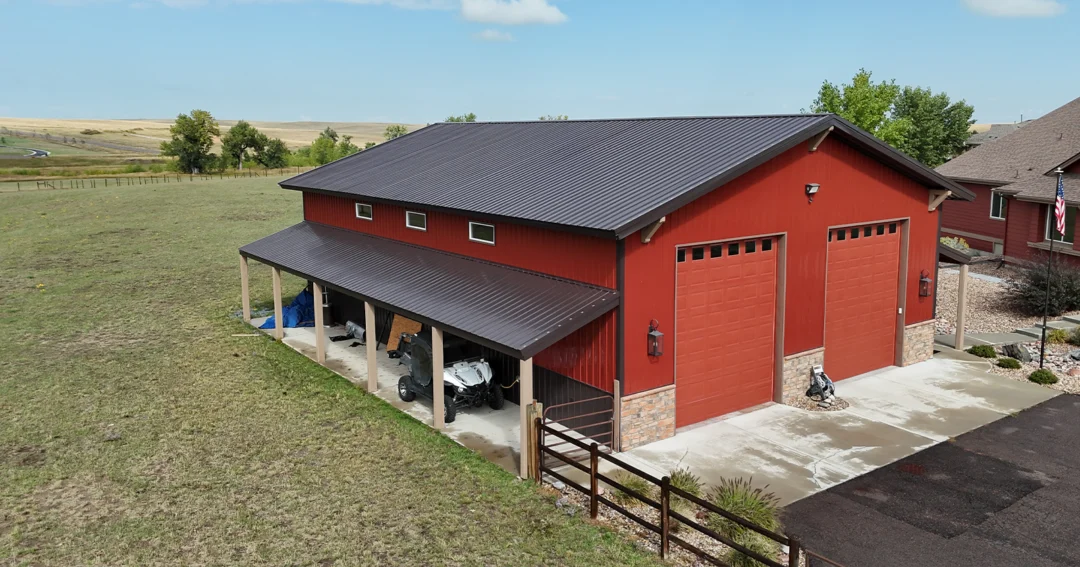
How to Add a Lean-To to an Existing Pole Barn or Metal Building
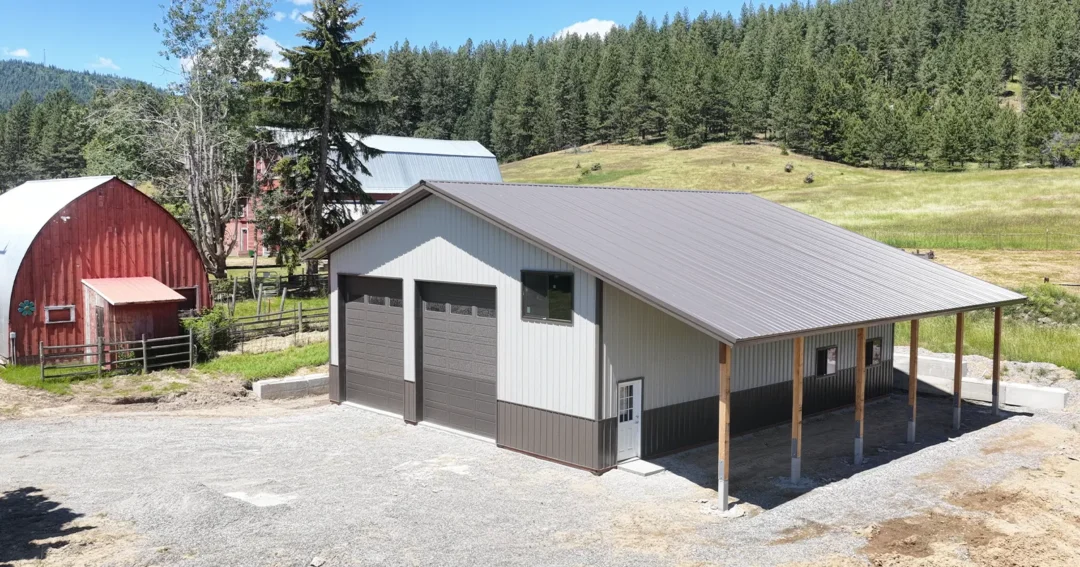
Adding a lean-to to an existing pole barn or metal building is one of the smartest upgrades you can make to a rural property. You already have the main structure. Adding a lean-to gives you a significant amount of new covered space without the cost or timeline of building a separate building from scratch.
This article is for property owners who already have a pole barn or metal building and are thinking about expanding it with a lean-to addition. We will walk through the full retrofit process, what to assess before you build, how the connection to your existing building works, what permits are typically required, and what the cost looks like.
If you are still in the planning phase of a new build, check out our main guide on pole barn lean-to and metal building lean-to additions, which covers the full range of lean-to options including designing one in from the start.
Can You Add a Lean-To to Any Existing Building?
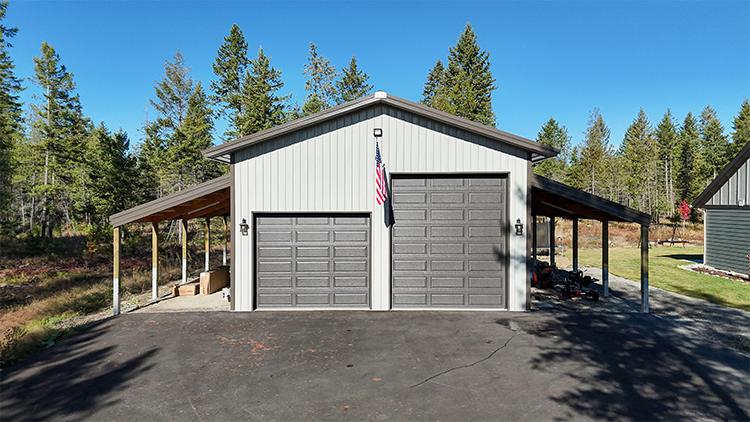
In most cases, yes. The vast majority of pole barns and metal buildings can accommodate a lean-to addition. The structural requirements are not dramatically different from a new build, since the lean-to uses the existing sidewall as one side of its frame and adds new posts along the outer edge.
That said, there are a few things worth evaluating before you commit to a design:
Sidewall Condition
The existing sidewall needs to be in good structural condition to serve as the attachment point for the lean-to roof. If your building has any posts that have rotted at the base, wall girts that have shifted, or siding that has significant rust or damage, those issues should be addressed before or during the lean-to addition project.
Eave Height
Your existing eave height determines how much vertical clearance the lean-to roof will have. A lean-to roof slopes downward away from the main building, so the outer edge of the lean-to will be lower than the point of attachment. If your building has a relatively low eave to begin with, you may need to limit the lean-to width or accept lower clearance on the outer edge. Most pole barns with 10 to 14-foot eaves have plenty of height to work with.
Foundation and Soil Conditions
New lean-to posts need to be set in the ground or on concrete footings. Before you start digging, it is worth knowing what is under the surface near your building. Buried utilities, existing concrete work, or unstable soil in a specific area can affect where posts can be placed and how deep footings need to go.
Drainage and Grading
The lean-to roof will shed water toward its outer edge. That water needs somewhere to go. If the grade alongside your existing building already drains poorly, adding a lean-to can make it worse. A little grading work before or during construction can prevent drainage headaches down the road.
Step-by-Step: How Adding a Lean-To to an Existing Building Works

Step 1: Assess the Existing Building and Site
Before any design work happens, your contractor will walk the site and assess the existing structure. This includes checking the sidewall condition, measuring eave heights, evaluating soil conditions where new posts will be set, and looking at how drainage currently flows around the building.
If you are working with Steel Structures America, this is part of our pre-design conversation. We want to understand exactly what you have before we recommend a lean-to design.
Step 2: Design the Lean-To
Once the existing building has been assessed, you can nail down the lean-to dimensions. Key decisions include:
- Width of the lean-to (how far it extends from the building)
- Length of the lean-to (full wall length or partial)
- Roof pitch
- Open, partially enclosed, or fully enclosed
- Roofing and siding materials (ideally matching the existing building)
- Whether an overhead door, walk door, or other openings are needed
We’ve got a guide on lean-to sizes and costs to give you a head start.
Step 3: Pull the Permit
Most lean-to additions require a building permit. Requirements vary by county and state, but in most of the areas Steel Structures America serves, any permanent addition to a structure needs a permit. Agricultural properties in rural areas sometimes have exemptions for smaller open-sided lean-tos, but it is always worth checking with your county building department before assuming you are exempt.
If engineered drawings are required, your contractor will work with an engineer to produce stamped plans that include the connection details, post footing sizes, and structural specifications for the lean-to.
Step 4: Set the New Posts and Footings
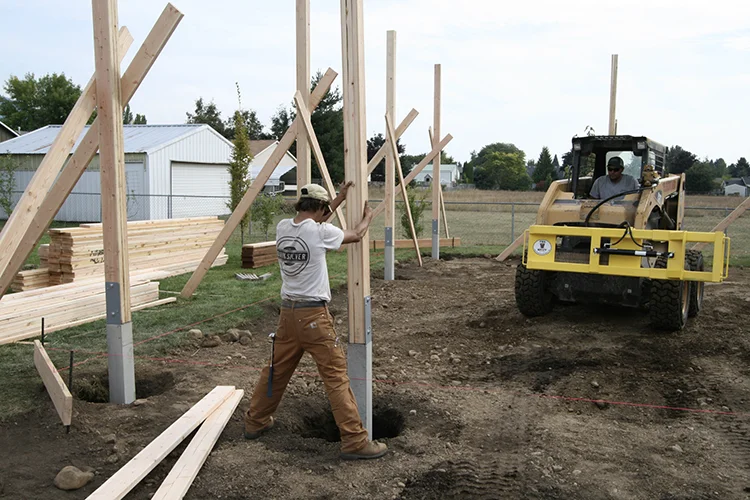
The outer edge of the lean-to is supported by new posts. These are typically set in concrete-filled holes augered into the ground, similar to how the original building’s posts were installed. Post depth depends on local frost depth requirements and soil conditions. In Idaho and the Pacific Northwest, posts are typically set 4 to 6 feet deep.
Post spacing is engineered based on the roof load requirements for your area (snow load is a significant factor in many of the states we serve). Most lean-to posts are spaced 8 to 12 feet on center.
Read more in our guide to lean to post footings.
Step 5: Attach the Ledger or Connection Hardware to the Existing Wall
This is the step that is unique to retrofit lean-to additions. The lean-to roof needs to connect securely to the existing sidewall of your building. There are two main approaches:
Ledger Board Connection
A structural ledger board is lag-bolted into the existing wall framing at the appropriate height. The lean-to roof rafters or purlins then bear on this ledger. This is a common approach on pole barns where the existing girts and posts are accessible.
Attached Rafter or Purlin Hangers
In some cases, metal building hardware such as joist hangers or purlin clips are attached directly to the existing framing members or to a new header installed in the sidewall. This method is common when the lean-to needs to integrate tightly with the existing structural system.
The connection method will be specified in your engineered drawings and is one of the most important details to get right. A properly designed connection transfers roof loads from the lean-to into the main building’s structural system without compromising the integrity of either.
Step 6: Frame the Lean-To Roof
With posts set and the connection to the existing building established, the lean-to roof is framed. On a pole barn lean-to, this typically involves setting roof purlins that span from the ledger or connection point to a top plate on the outer posts. On a metal building lean-to, the framing system may use light-gauge steel members depending on the building system.
The single-slope roof design of a lean-to is straightforward to frame and tends to go up quickly once the foundation work is done.
Step 7: Install Roofing, Siding, and Trim
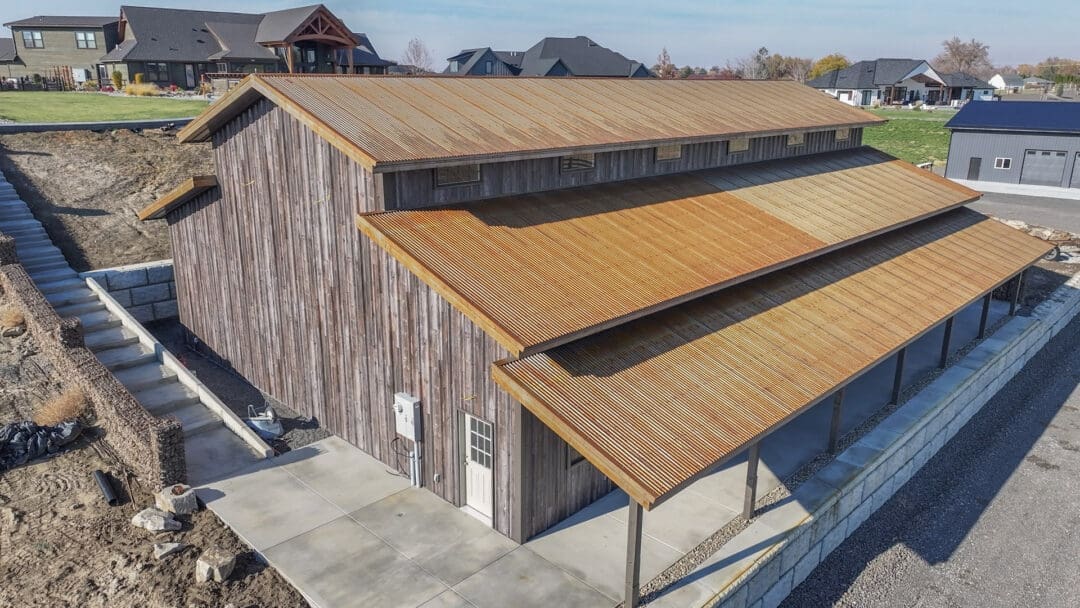
Metal roofing panels are installed on the lean-to roof, ideally matching the profile and color of the existing building. If the lean-to is enclosed or partially enclosed, siding panels are added on the open sides. Trim, flashing, and fascia are installed to finish the edges and ensure the addition weatherproofs properly where it meets the existing structure.
The flashing detail where the lean-to roof meets the existing sidewall is critical. This junction needs to be properly flashed and sealed to prevent water infiltration at the connection point.
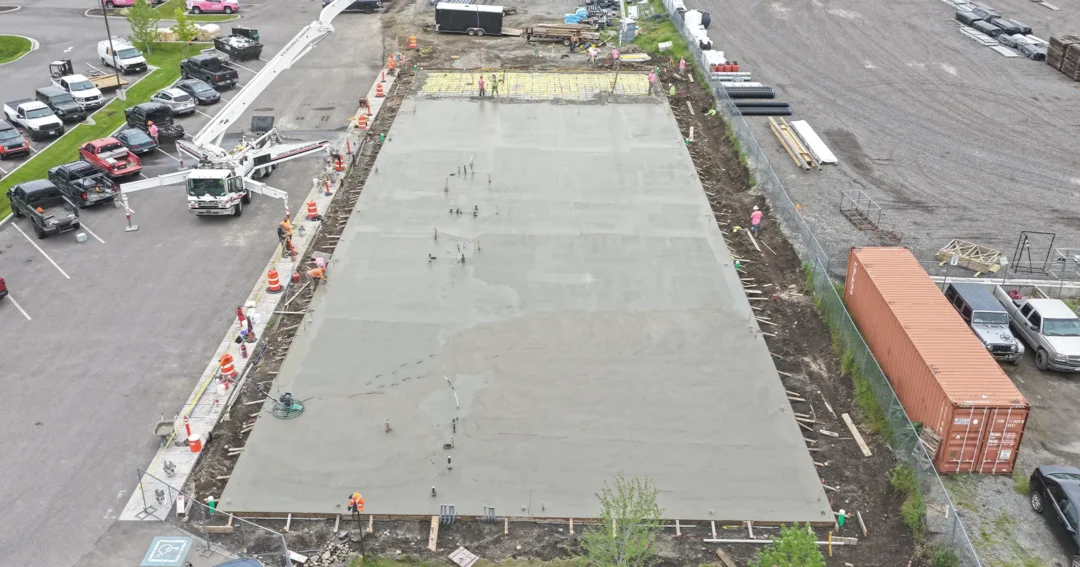
Step 8: Concrete Floor (If Applicable)
If you want a concrete floor in your lean-to, the slab is typically poured after the structure is up and roofed. This protects the fresh concrete from weather during the curing process. The lean-to floor can be poured to match the existing building’s floor elevation or stepped down slightly depending on the grade.
Retrofit Lean-To vs. Building a New Freestanding Structure
Property owners who need more covered space sometimes wonder whether adding a lean-to is better than simply building a new separate structure. Here is a quick comparison:
| Retrofit Lean-To Addition | New Freestanding Structure |
| Uses existing wall as one side, lower cost per sq ft | Requires four full walls, higher cost per sq ft |
| Faster to build, less site prep | Longer build timeline |
| Dependent on existing building condition | Independent structure, no dependency |
| Connected and covered from main building | Separate access, no covered connection |
| Limited by existing eave height and wall condition | Fully flexible design |
| Best when you want to expand an existing building | Best when you need a fully separate facility |
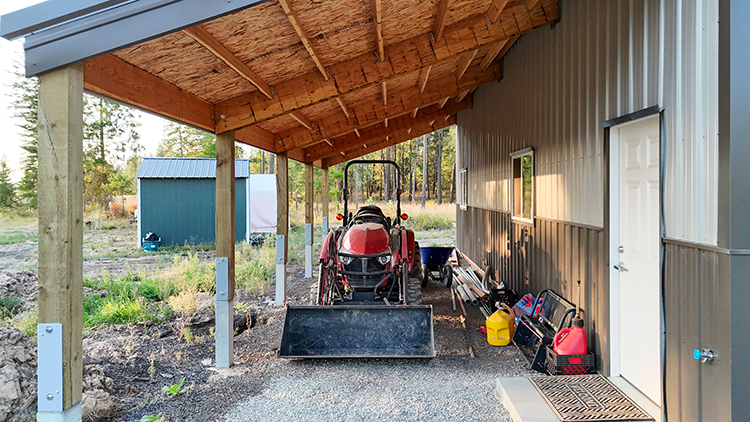
Cost to Add a Lean-To to an Existing Pole Barn or Metal Building
Retrofit lean-to costs vary based on the size of the addition, the level of enclosure, the materials used, and the complexity of the connection to the existing building. Here are general ranges to give you a starting point:
| Lean-To Type | Approximate Cost Range | Notes |
| Open lean-to, basic | $8 to $15 per sq ft | No walls, no concrete floor |
| Partially enclosed | $15 to $25 per sq ft | Siding on some sides, may include floor |
| Fully enclosed | $25 to $40+ per sq ft | Walls, door(s), concrete floor |
| With overhead door | Add $2,500 to $5,000+ | Depending on door size and type |
| Permitting and engineering | $500 to $2,500+ | Varies significantly by county |
For a more detailed breakdown of sizes and how they effect costs peek at our pole barn size selection guide.
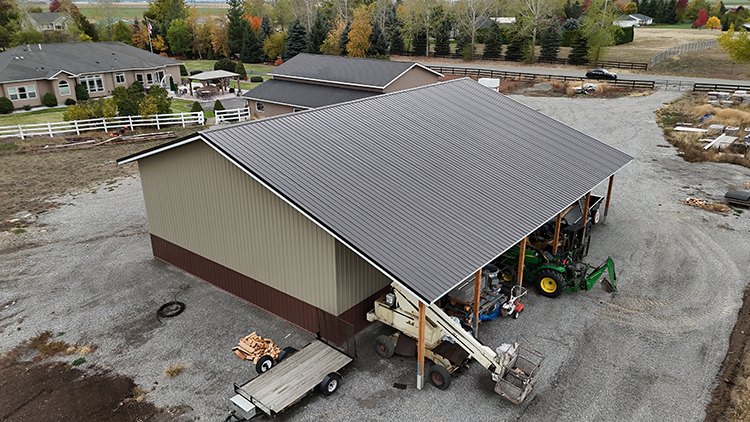
How Long Does It Take to Add a Lean-To to an Existing Building?
For most retrofit lean-to projects, the active construction phase runs anywhere from a few days to a couple of weeks depending on the size of the addition and the complexity of the connection. Here is a rough timeline:
- Site assessment and design: 1 to 2 weeks
- Permitting: 2 to 6 weeks depending on your county
- Post setting and foundation work: 1 to 3 days
- Framing: 1 to 3 days
- Roofing and siding: 1 to 3 days
- Concrete (if applicable): 1 day pour, 7 to 14 days cure
The permitting phase is usually the longest part of the process and is largely outside of your contractor’s control. Getting your permit application in early is the best way to keep the overall project moving.
Questions to Ask Your Contractor Before the Project Starts
If you are working with a contractor to add a lean-to to your existing building, here are a few things worth asking before you sign a contract:
- Will you assess the existing building’s condition before finalizing the design?
- How will the lean-to connect to my existing structure, and what hardware will be used?
- Will you handle the permit application, or is that my responsibility?
- Is engineered stamped drawings included in your quote?
- What happens if the existing wall framing needs repairs to accommodate the attachment?
- Will the roofing and siding match my existing building?
- What is the warranty on the lean-to addition?
We also have a complete guide on finding the right contractor here.
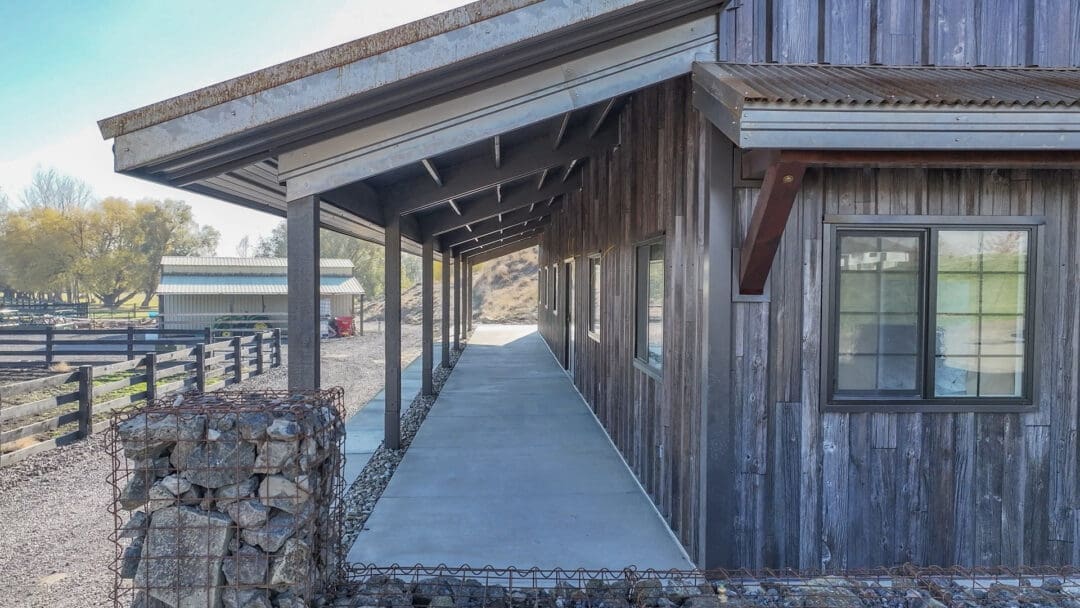
Ready to Add a Lean-To? Steel Structures America Can Help
Steel Structures America works with property owners across Idaho, Washington, Oregon, Colorado, Montana, and surrounding states to design and build lean-to additions on existing pole barns and metal buildings. We handle the assessment, design, permitting, and construction so you can focus on what matters.
Give us a call at (866) 490-4012 or reach out online to talk through your project.